Raspberry Pi users consistently create diverse and impressive projects—from retro game emulators and DIY laptops to smart home dashboards and educational tools. As these devices move beyond command-line functionality into full graphical interfaces, the role of a physical display becomes increasingly important.
Many Raspberry Pi enthusiasts ask common questions before committing to a screen. These include: “Which monitor is compatible with the Pi?”, “Does the screen support touch input?”, and “What’s the best size for my project?” These concerns are not only practical—they’re essential to a smooth setup experience.
This guide addresses those FAQs and explores the most efficient ways to choose a monitor that matches your needs. It also highlights the importance of using purpose-built screens, such as a raspberry pi monitor, that offer reliable compatibility and simplified configuration.
Why a Dedicated Raspberry Pi Monitor Offers a Better Experience
Generic displays can often be made to work with a Raspberry Pi, but not without issues like incorrect resolution, unstable power delivery, or clunky form factors. A display tailored specifically for the Raspberry Pi eliminates those friction points. For example, models designed for Raspberry Pi typically support micro-HDMI or standard HDMI inputs, offer 5V USB power compatibility, and include stands or mounting holes for project integration.
Choosing a raspberry pi monitor also means benefiting from a screen tested for Raspberry Pi OS. That reduces the need for driver installations or manual display configuration.
Beyond technical specifications, these monitors simplify builds for:
- Portable coding environments
- Touchscreen-based kiosk systems
- Smart mirrors and weather stations
- RetroPie and game console emulators
- Classroom learning kits
Each project benefits from a screen that simply works, without adapter chains or software workarounds.
Key Factors When Selecting a Monitor for Your Pi Project
The right screen enhances performance and usability. Here’s what to evaluate when making a selection:
1. Power Requirements
The Raspberry Pi delivers limited power through its USB ports. If a display draws too much power, it may result in system instability. Screens with dedicated power inputs (rather than relying solely on the Pi) help avoid that risk and maintain safe, continuous operation.
2. Input Compatibility
The Raspberry Pi 4 and 5 use micro-HDMI outputs, whereas earlier models may rely on full-size HDMI or even composite video. A suitable monitor should support micro-HDMI directly or come with appropriate cabling. Using displays designed with these specifications in mind ensures a plug-in-and-go experience.
3. Display Resolution
Full HD (1920×1080) remains a popular choice for most Raspberry Pi users. It balances screen clarity and resource consumption well. While the Raspberry Pi 5 can support 4K displays, doing so may limit performance in more demanding use cases unless optimised carefully.
4. Touchscreen Functionality
Touch input is not essential for every project, but it’s ideal for certain applications like home automation, point-of-sale devices, or educational interfaces. Capacitive touchscreen monitors designed for Raspberry Pi are often easier to configure, as they’re supported directly within Raspberry Pi OS.
5. Mounting and Build Quality
For static projects such as kiosks or dashboards, mounting options like VESA compatibility or custom brackets are vital.
Some screens come with adjustable stands or enclosures, which makes them more adaptable to physical build constraints.
Example Project: Raspberry Pi as a Mobile Programming Environment
A growing number of developers use the Raspberry Pi as a mobile programming workstation. To build a compact yet effective setup, they typically pair the board with:
- A wireless keyboard
- Portable power supply or battery pack
- A lightweight, HDMI-compatible raspberry pi monitor
With this trio, users can code on the go without relying on a laptop. The screen’s compatibility ensures quick boot-up, correct resolution, and a stable power connection all critical for mobile use.
Example Project: Retro Gaming Console
Retro gaming builds are one of the Raspberry Pi’s most popular use cases. These projects often involve:
- Installing emulators such as RetroPie or Lakka
- Connecting USB game controllers
- Outputting video to a monitor with low input lag and suitable resolution
A dedicated Raspberry Pi screen enhances the gaming experience by reducing latency and avoiding scaling issues. Compact monitors also make it easy to build tabletop arcades or portable consoles with a high level of polish.
Example Project: Smart Dashboard for Home Automation
Smart home enthusiasts often use Raspberry Pi boards to monitor sensors, control lighting, or manage network devices. A dashboard display makes interaction with such systems easier and more intuitive.
Here, a 7-inch touchscreen is ideal. It offers enough space to display information clearly while keeping the form factor discreet. Monitors designed for Raspberry Pi allow seamless integration into frames or wall mounts, making them a popular choice in home automation builds.
Compatibility, Drivers, and Ease of Use
Another recurring question among users is whether Raspberry Pi OS supports external monitors without complications. The good news: most HDMI monitors will display output immediately. But touchscreens, display rotation, and brightness controls may require some configuration.
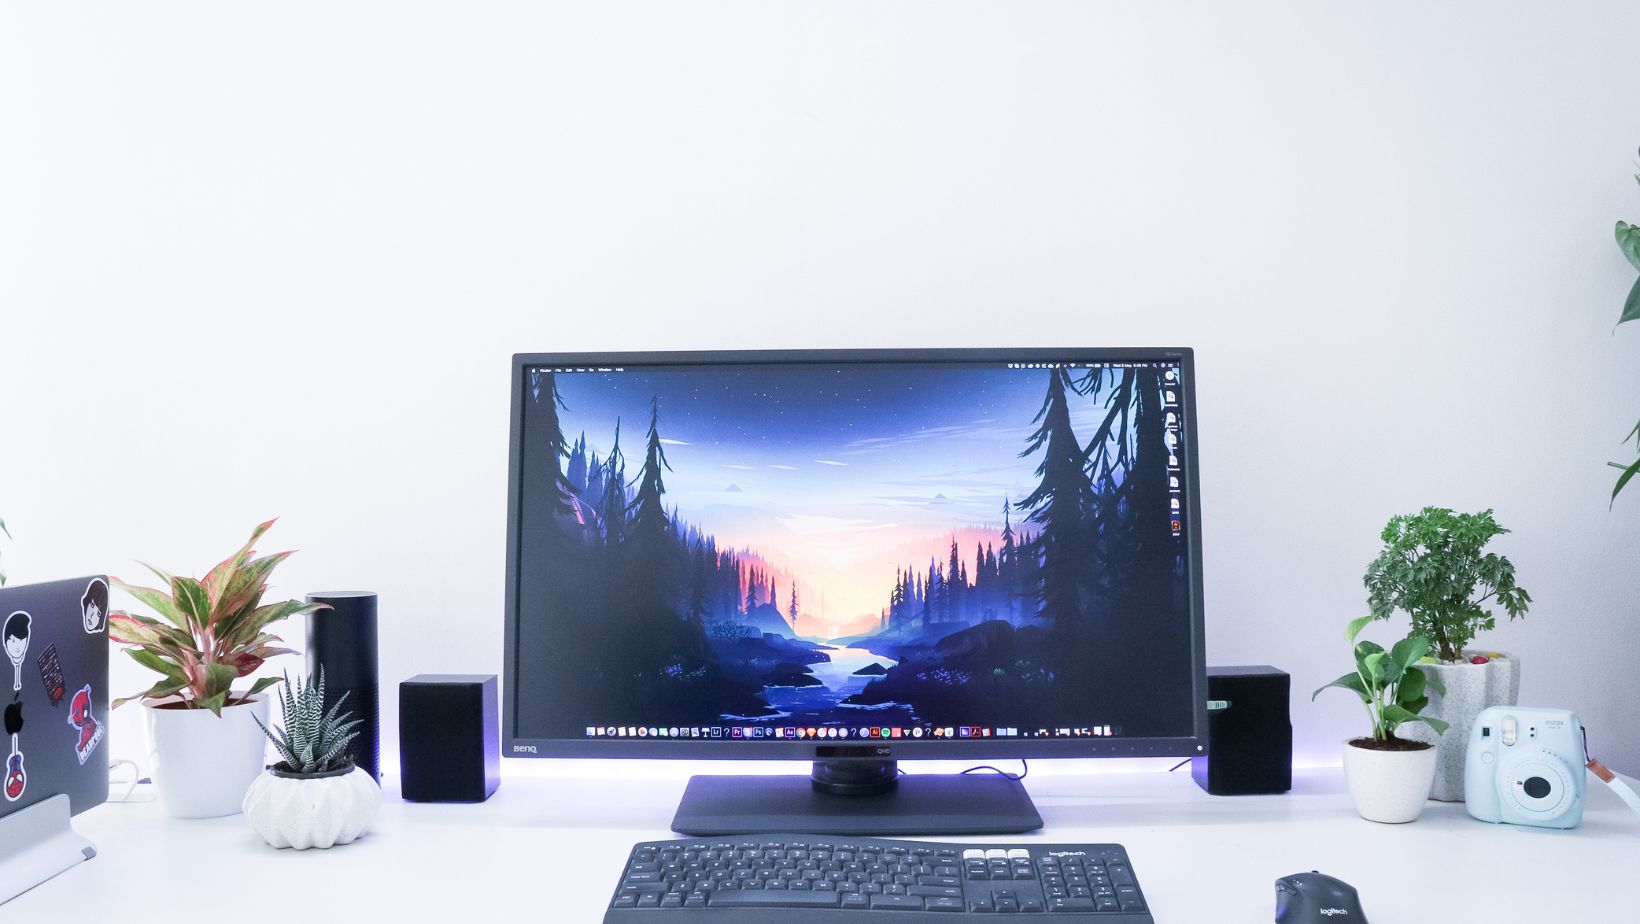
Monitors built for Raspberry Pi typically include setup instructions and community support tailored for Raspberry Pi OS. These screens also reduce the need for trial and error, especially when dealing with custom overlays, command-line adjustments, or additional drivers.
For touchscreens, configuration can usually be managed via the config.txt file or desktop settings. The community documentation around these displays continues to grow, making the setup process smoother for beginners and advanced users alike.
Summary: How to Choose the Best Monitor for Your Project
When selecting a monitor for your Raspberry Pi, consider:
- The type of project (portable, fixed, touch-based, or display-only)
- Required resolution and screen size
- Power constraints and input options
- Operating system compatibility and ease of configuration
In most cases, opting for a dedicated raspberry pi monitor offers the best balance of reliability and user experience. These screens are built to align with the Raspberry Pi’s hardware capabilities and ensure visual performance is not a limiting factor.
Final Thoughts
Raspberry Pi continues to evolve as a platform for creative and functional projects. Whether you’re building a mobile dev kit, a retro game console, or a smart home interface, the display you choose has a significant impact on the final result.
The right monitor transforms your Raspberry Pi from a bare board into a fully usable computer or control system. Selecting one that’s built for the task, such as a purpose-made raspberry pi monitor, ensures you get consistent results with minimal setup effort.
Avoid compatibility headaches and unlock your Raspberry Pi’s full visual potential by choosing a screen designed to work with it from day one.

